Introduction
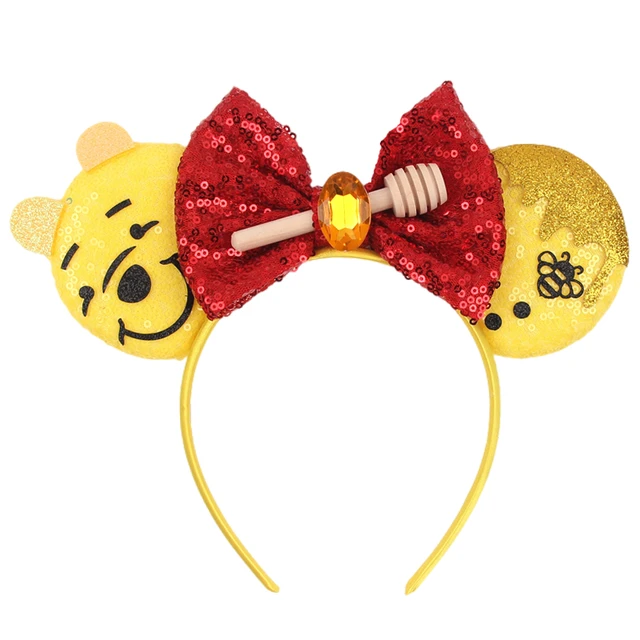
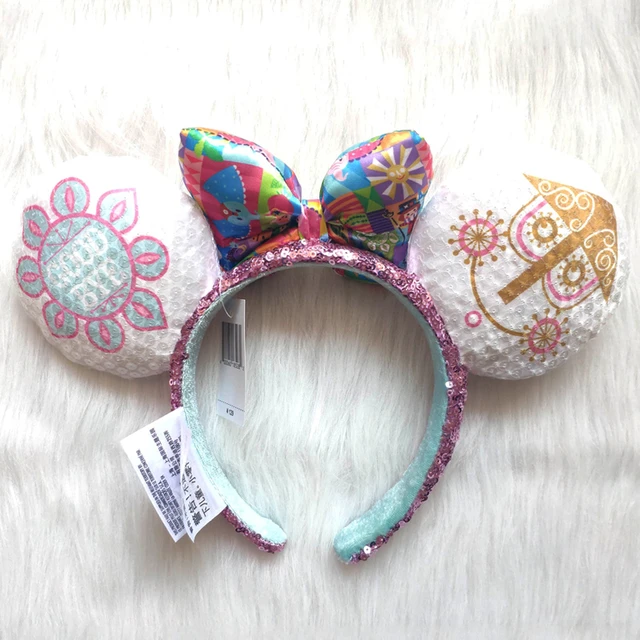
Creating your own pair of Disney ears can be a fun and rewarding DIY project, allowing you to express your creativity and personalize your Disney experience. Here’s a comprehensive guide on how to make Disney ears: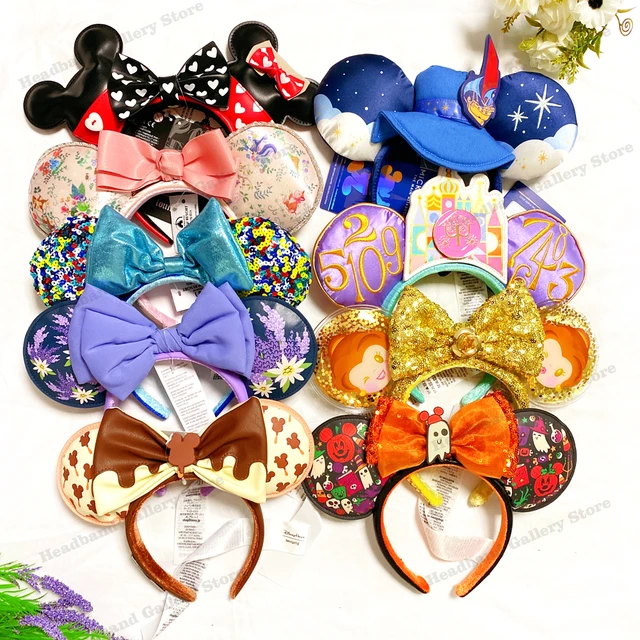
Materials You’ll Need:
- Headband: Start with a plain headband as the base for your ears. You can choose a traditional plastic headband or opt for a fabric-covered one for added comfort.
- Fabric: Select fabric that matches the theme or design of your Disney ears. Consider using felt, fleece, or cotton fabric in colors and patterns that evoke the character or theme you’re aiming for.
- Foam or Felt Sheets: These materials will serve as the padding for your ears, giving them structure and volume. Foam sheets are ideal for a more rigid shape, while felt sheets offer a softer, more flexible option.
- Stuffing Material: You’ll need stuffing material such as polyester fiberfill to fill out your ears and give them a plush appearance.
- Hot Glue Gun and Glue Sticks: A hot glue gun is essential for assembling your ears and attaching them to the headband securely.
- Scissors: Sharp scissors will be needed to cut fabric, foam, and other materials to the desired shapes and sizes.
- Marker or Chalk: Use a marker or chalk to trace your ear templates onto the fabric and foam before cutting.
- Embellishments: Optional embellishments such as sequins, beads, bows, or ribbons can be added to decorate your ears and enhance their appearance.
Step-by-Step Instructions:
Choose Your Design:
Decide on the theme or character for your Disney ears. Whether you’re inspired by classic Disney characters, princesses, Pixar films, or Star Wars, choose a design that reflects your personal style and interests.
Create Templates:
Use a piece of cardboard or paper to create templates for your ear shapes. You can find templates online or draw your own based on the size and shape you prefer. Trace the templates onto your chosen fabric and foam sheets using a marker or chalk.
Cut Out Fabric and Foam:
Carefully cut out the fabric and foam shapes for your ears using sharp scissors. Make sure to cut two identical pieces for each ear – one from the fabric and one from the foam.
Assemble Ears:
Place the foam pieces on top of the fabric pieces, aligning them evenly. If you’re using stuffing material, place a small amount of stuffing between the fabric and foam layers to add volume to your ears. Use hot glue to secure the edges of the fabric together, leaving the bottom edge open.
Attach Ears to Headband:
Once your ears are assembled and filled, it’s time to attach them to the headband. Apply a generous amount of hot glue to the bottom edge of each ear and carefully press them onto the headband, holding them in place until the glue sets.
Add Embellishments:
Get creative and personalize your Disney ears with embellishments such as sequins, beads, bows, or ribbons. Use hot glue to attach these embellishments securely to your ears, adding extra sparkle and charm.
Let Them Dry:
Allow your Disney ears to dry completely before wearing them or adding any additional decorations. This will ensure that the glue has fully set and your ears are securely attached to the headband.
Wear and Enjoy:
Once your Disney ears are dry and ready to go, slip them on and get ready to show off your handmade creation! Whether you’re visiting the parks, attending a Disney-themed event, or simply adding a touch of magic to your everyday life, your DIY Disney ears are sure to turn heads and spark joy wherever you go.
Tips and Tricks:
- Experiment with different fabrics, colors, and textures to achieve the look you want for your Disney ears.
- Take your time and work carefully to ensure clean, precise cuts and secure attachments.
- Consider adding wire or other structural supports inside your ears for added stability and durability.
- Don’t be afraid to get creative and add your own unique touches to your Disney ears – the possibilities are endless!
Theme Inspiration:
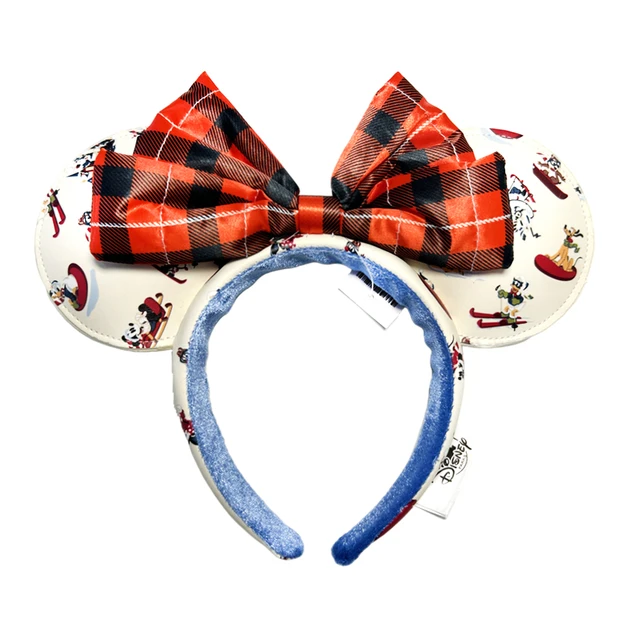
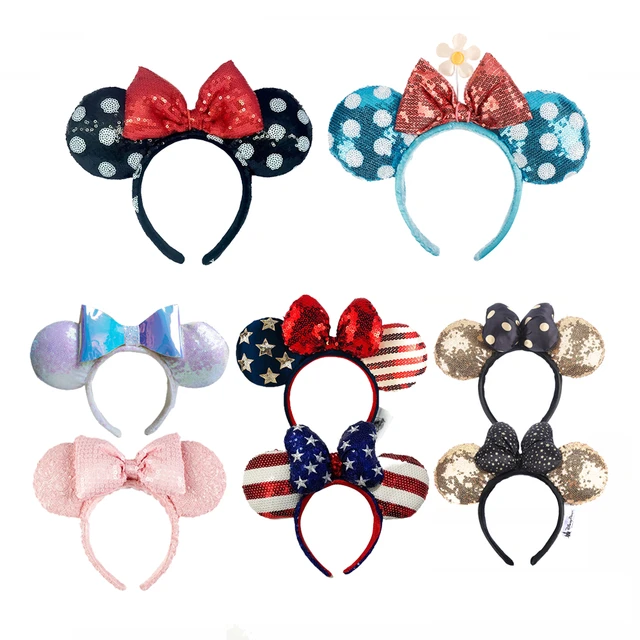
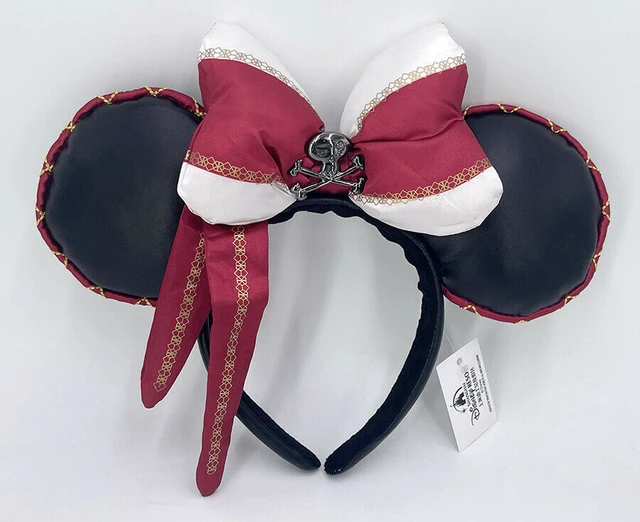
If you’re having trouble deciding on a theme for your Disney ears, consider drawing inspiration from your favorite Disney movies, characters, attractions, or even specific park experiences. You could also create ears inspired by seasonal events like Halloween or Christmas, or design ears based on a specific color scheme or pattern.
Mix and Match:
Don’t feel limited to just one theme or character for your Disney ears. Get creative and mix and match different elements to create a unique and personalized design. For example, you could combine elements from multiple Disney princesses, or create ears that represent a mashup of different Pixar films.
Customization Options:
In addition to fabric and embellishments, consider other customization options for your Disney ears. You could add extra details like embroidery, appliqués, or patches, or incorporate elements like LED lights or sound effects for an interactive touch. Personalize your ears even further by adding your name or initials, or including special dates or quotes that hold significance to you.
Group Projects:
Making Disney ears can be a fun group activity to do with friends or family members. Host a crafting party where everyone can design their own pair of ears, or collaborate on a themed set of ears to wear together during your next Disney outing. It’s a great way to bond and share your love for Disney!
Functional Design:
While aesthetics are important, don’t forget to consider the practical aspects of your Disney ears as well. Make sure they’re comfortable to wear for extended periods of time, and consider factors like weight, balance, and stability when designing and attaching them to the headband. You want your ears to look great and feel great too!
Experiment and Iterate:
Don’t be afraid to experiment with different techniques and materials as you make your Disney ears. If something doesn’t turn out the way you envisioned, don’t get discouraged – use it as an opportunity to learn and improve. Keep refining your design until you’re completely satisfied with the result.
Once you’ve completed your Disney ears, share photos of your creations on social media or Disney fan forums to inspire and connect with other Disney enthusiasts. You might even inspire someone else to try their hand at making their own ears!
Remember, the most important thing is to have fun and let your imagination run wild as you bring your Disney-inspired creations to life. Whether you’re a seasoned crafter or a first-time DIYer, making your own Disney ears is a magical experience that allows you to express your creativity and celebrate your love for all things Disney. Enjoy the process, and happy crafting!
Conclusion
By following these step-by-step instructions and letting your creativity shine, you can make your own custom pair of Disney ears that reflect your love for Disney and showcase your unique style and personality. Have fun crafting, and may your DIY Disney ears bring a little extra magic to your Disney adventures! 