Introduction
Crocheting is a wonderful and therapeutic craft that allows you to create unique and personalized items with just a hook and some yarn. If you’re new to the world of crochet and looking for an adorable project to start with, a mushroom hat is a perfect choice! This whimsical accessory adds a touch of fun to any outfit and makes for a fantastic gift. In this step-by-step guide, we’ll walk you through the process of making your very own DIY crochet mushroom hat, even if you’re a complete beginner.
Materials You Will Need:
- Yarn: You’ll need two colors of medium-weight (worsted) yarn – one for the cap and another for the spots.大约 200-300 yards for the main color and 50-100 yards for the spots should be sufficient.
- Crochet Hook: A size H (5.0mm) hook is recommended for worsted weight yarn, but it’s essential to check your yarn label for the suggested hook size.
- Scissors: For cutting the yarn.
- Yarn Needle: To weave in ends.
- Stitch Marker: Optional but helpful for marking rounds.
- Pom-Pom Maker or Cardboard Rings: To create the pom-pom for the top of the mushroom.
Abbreviations and Stitches Used:
- CH: Chain
- SC: Single Crochet
- HDC: Half Double Crochet
- DC: Double Crochet
- SL ST: Slip Stitch
- INC: Increase (work 2 stitches into the same stitch)
- DEC: Decrease (work the next 2 stitches together)
Starting the Cap
- Foundation Ring: Start by making a magic ring or chain 4 and join with a SL ST to form a ring.
- Round 1: Work 6 SC into the ring. (6 stitches)
- Round 2: INC in each stitch around. (12 stitches)
- Continue increasing in each round until your circle reaches the desired diameter for the head circumference, typically increasing every other round as needed. Keep in mind that the hat needs to be slightly stretchy to fit comfortably.
Shaping the Cap
Once your circle is large enough to cover the intended head, stop increasing and work even rounds of SC until the cap reaches the desired length, usually about 5-6 inches for a child or adjust according to the head size.
Closing the Top
- Decrease rounds to shape the top of the hat. Start by skipping the first stitch, SL ST into the next, then DEC over the next two stitches, repeat around.
- Continue decreasing in this manner until you have 6-8 stitches left. Cut the yarn, leaving a long tail, and thread it through the remaining stitches. Pull tight and secure.
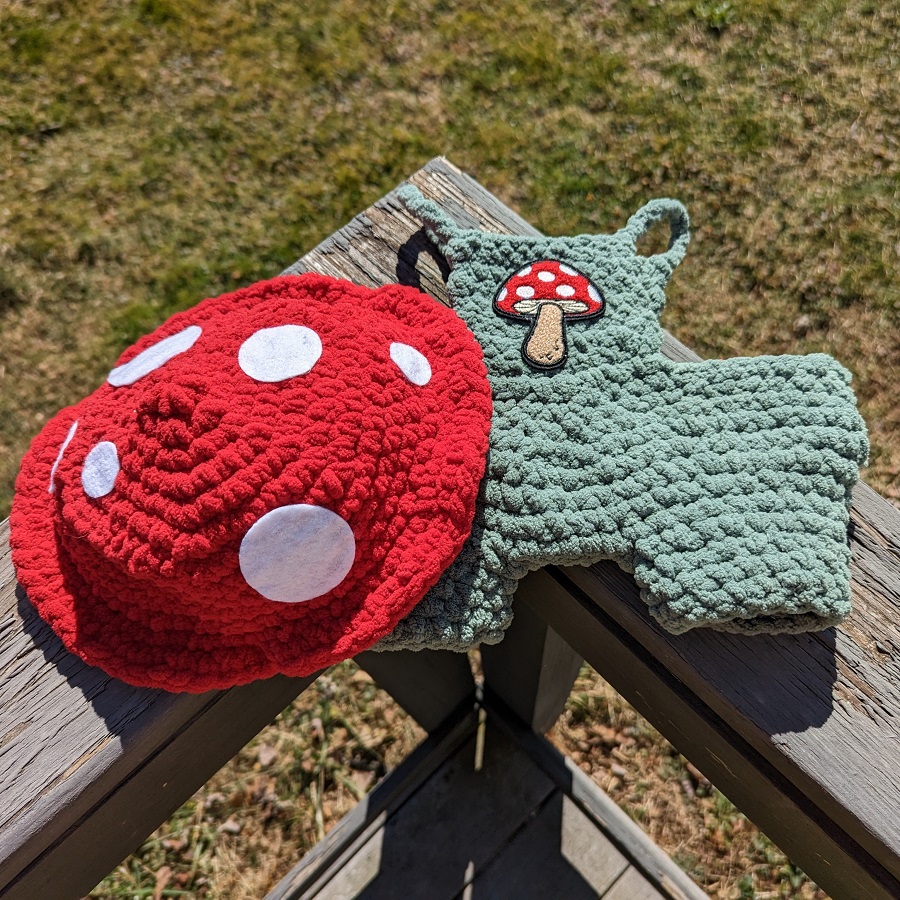
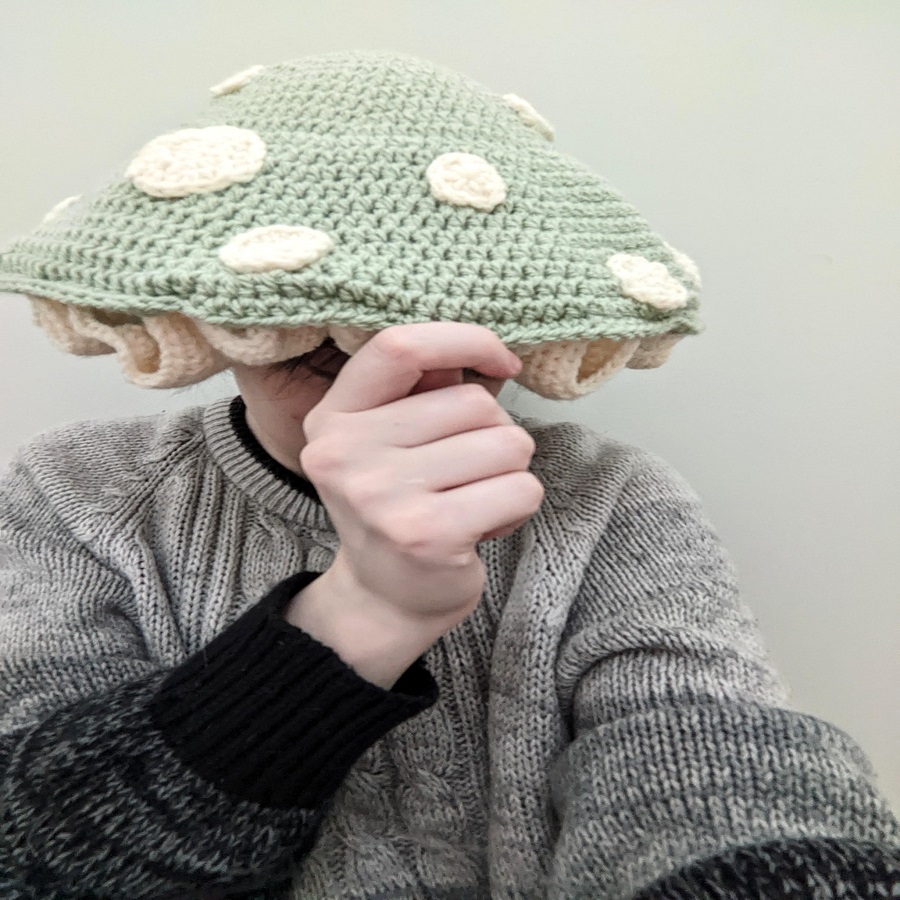
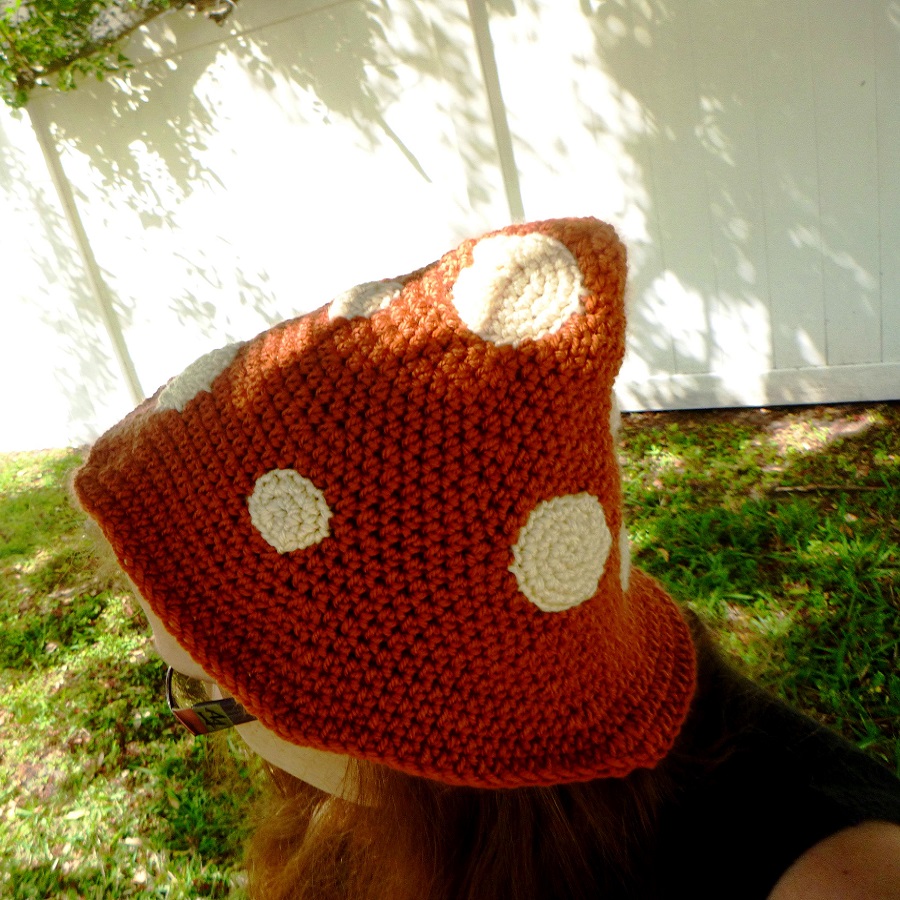
Adding Spots
Using the second color of yarn and a smaller hook (optional for tighter stitches), make small circles for the spots.
- CH 2, work 6 SC into the second chain from hook. SL ST to join.
- Work 2 INC around. SL ST to join. (12 stitches)
- SC around for 1-2 more rounds, or until the spot is the desired size. Fasten off and leave a long tail for sewing.
Sew the spots onto the hat, spacing them out evenly.
Creating the Pom-Pom
Use a pom-pom maker or DIY method with cardboard rings to create a pom-pom in the color of your choice. Attach it securely to the top of the hat using the long tails from the pom-pom.
Finishing Touches
Weave in all ends using a yarn needle to ensure a clean finish.
Congratulations! You’ve successfully completed your DIY crochet mushroom hat. It’s a charming piece that not only showcases your newfound crochet skills but also adds a playful touch to any outfit. Remember, practice makes perfect, so don’t be discouraged if your first attempt isn’t flawless. Keep crocheting, and soon you’ll be creating intricate designs with ease. Enjoy your new handmade accessory and the joy of crafting something special!
Choosing Your Pattern
Search online for free or paid crochet patterns for mushroom hats. Look for designs that match your skill level, whether beginner-friendly or more advanced. Patterns usually come with detailed instructions, including stitch diagrams and notes on sizing adjustments.
Basic Techniques & Stitches
If you’re new to crochet, familiarize yourself with these basic stitches:
- Chain (ch): Forms the foundation of your work.
- Single Crochet (sc): A basic stitch for creating dense fabric.
- Double Crochet (dc): Creates a slightly looser fabric than sc, useful for shaping.
- Increasing (inc) and Decreasing (dec): Vital for shaping the hat and creating the mushroom cap’s dome.
Tips and Tricks
- Color Changes: For the spotted effect, you’ll need to change colors frequently. Use the “join new color” technique smoothly without leaving gaps or carrying unused colors along the sides of your work.
- Shaping the Cap: A mushroom cap typically has a domed shape. Increase stitches at regular intervals to achieve this form. Decrease stitches as you near the top to close the cap.
- Adding Dimension: For a more realistic look, consider crocheting the cap in the round separately and stuffing it lightly before attaching it to the hat body. This gives it a 3D effect.
- Embellishments: Pom-poms, felt cutouts, or embroidery can be used to enhance the spots or add additional details like eyes or smiles for a whimsical touch.
- Sizing: Measure the head circumference of the wearer and adjust the pattern accordingly. Remember, crochet hats tend to stretch, so aim for a snug fit initially.
Inspiration & Variations
- Fantasy Themes: Embrace different fantasy elements such as adding elf ears or incorporating glow-in-the-dark yarn for a mystical night-time glow.
- Seasonal Adaptations: Switch up colors for seasonal variations – pastels for springtime, warm hues for autumn, or icy blues for winter wonderland themes.
- Character-Inspired: Draw inspiration from popular culture like Super Mario’s Toad or Alice in Wonderland’s mushrooms to create character-specific hats.
- Textured Yarns: Experiment with different yarn textures like fuzzy, tweed, or even incorporating tassels or fringes to mimic the natural texture of mushrooms.
Why Mushroom Hats?
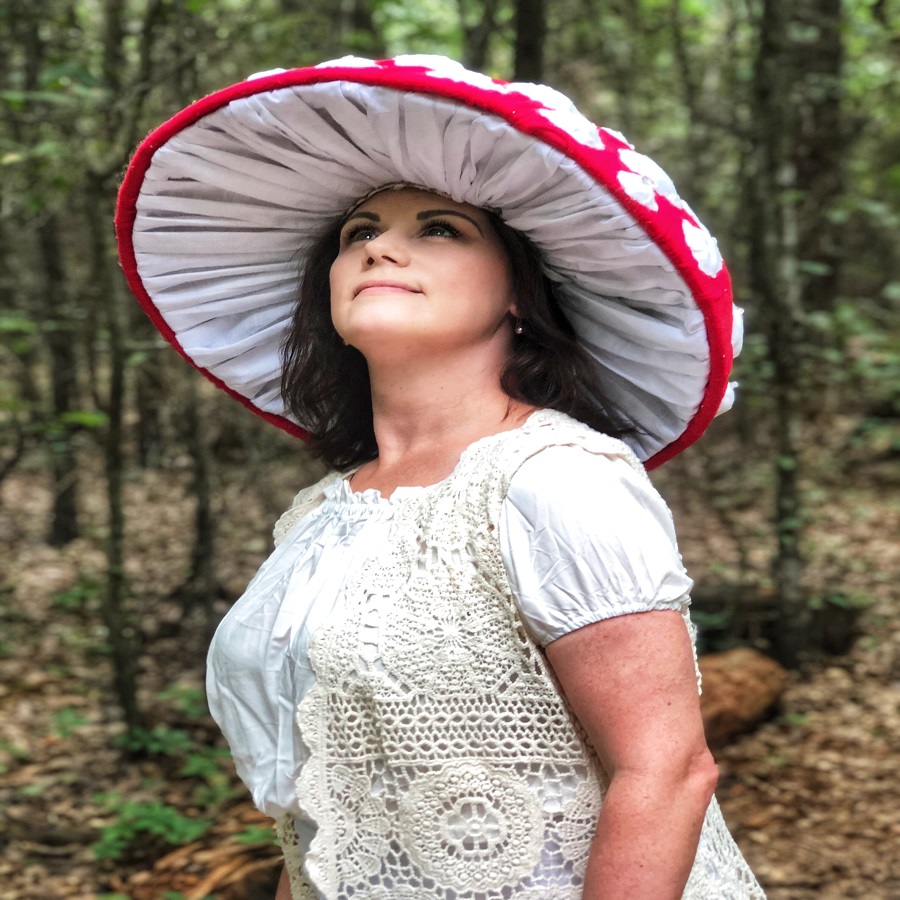
Mushroom-themed accessories have a timeless appeal, often associated with fairy tales, enchanted forests, and the magical world of fantasy. The unique shape of mushrooms—characterized by a round cap atop a slender stem—lends itself beautifully to hat design, resulting in a look that is both quirky and undeniably cute. Crochet mushroom hats can be customized in countless ways, from color combinations and stitch patterns to the addition of embellishments like buttons, embroidery, or even tiny felt spots, ensuring that each creation is one-of-a-kind.
Patterns for Kids:
For children, mushroom hats offer an opportunity for imaginative play and dress-up, encouraging creativity and a love for nature. Simple yet charming patterns, often designed with bright colors and soft yarns, are perfect for little ones. Consider a classic red-capped toadstool design with white spots, reminiscent of Super Mario mushrooms, which will delight any young gamer. Alternatively, a more subtle earthy tone with variegated greens and browns can inspire a love for exploration and the outdoors.
Patterns for Adults:
Adults too can join in the fun with sophisticated and stylish mushroom hats that add a touch of whimsy to their winter wardrobe. These designs often incorporate intricate stitch work, such as cable knitting or lace patterns, and may feature muted or neutral tones for a more mature aesthetic. A slouchy beanie style with a subtle mushroom-inspired design can be a fashionable statement piece, while a fitted cap adorned with delicate绣embroidered details can elevate any casual outfit.
DIY Tips and Tricks:
- Choosing Yarn: Opt for soft, breathable, and washable yarns, especially when crocheting for children. Acrylic and wool blends are popular choices due to their durability and ease of care.
- Size Matters: Always check the pattern for sizing charts and adjust accordingly. A properly fitting hat enhances the overall look and comfort.
- Adding Details: For the mushroom cap, consider using a different stitch or color to create the distinct spotted effect. Small pom-poms or felt cutouts can also be attached for added texture and authenticity.
- Stabilizing the Stem: To ensure the “stem” part of the hat stands upright, use a stiffer yarn or insert a wire or pipe cleaner inside the crochet tube before缝合ing it closed.
- Customization: Personalize your hat with unique touches like adding a brim, earflaps, or a pom-pom on top for extra flair.
- Finishing Touches: Don’t forget to weave in all ends neatly and block your finished hat to enhance its shape and drape.
Exploring Online Resources:
The internet abounds with free and paid crochet patterns for mushroom hats, ranging from beginner-friendly tutorials to advanced designs. Websites like Ravelry, Etsy, and Pinterest are treasure troves of inspiration and patterns, where you can find detailed instructions, photos, and user reviews to guide you through each project. Joining crochet communities and forums can also provide valuable tips, troubleshooting advice, and a sense of camaraderie among fellow crafters.
Conclusion:
Crochet mushroom hats for kids and adults are not just accessories; they’re wearable works of art that spark joy and imagination. Whether you’re crafting for yourself, your little ones, or as a thoughtful gift, these whimsical hats offer a delightful way to express creativity while keeping warm. With countless patterns and customization options available, there’s a crochet mushroom hat out there for every style and skill level. So, grab your hook and yarn, and embark on a magical crochet adventure today!