Introduction
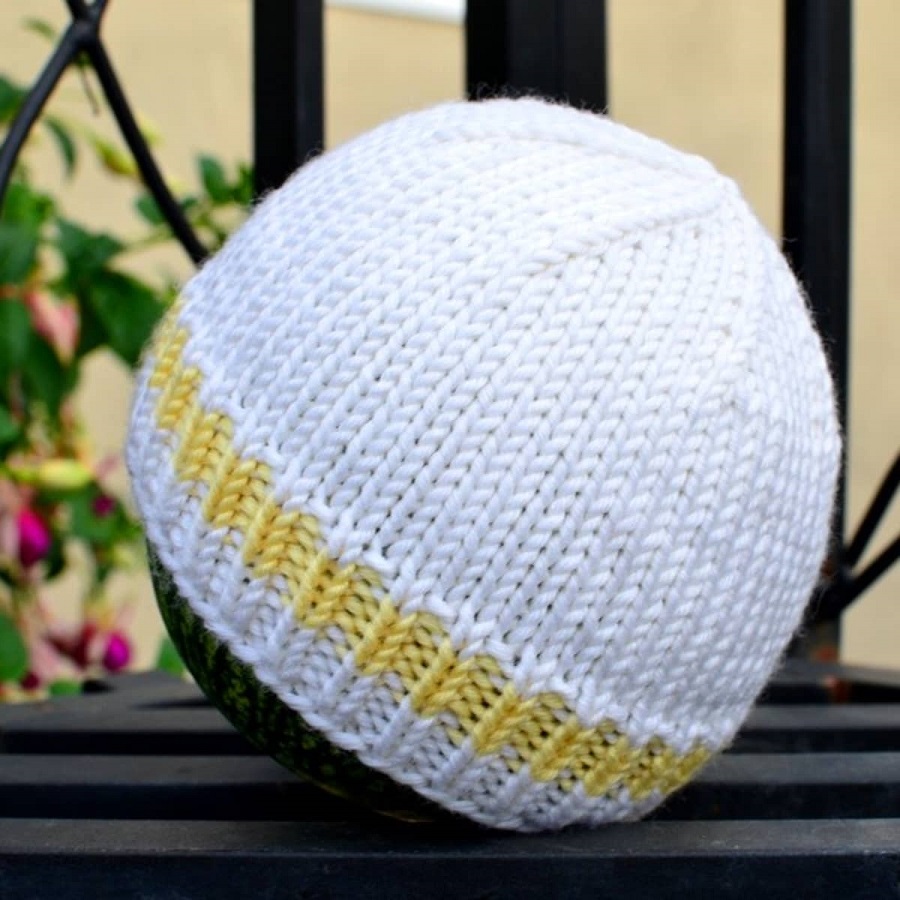
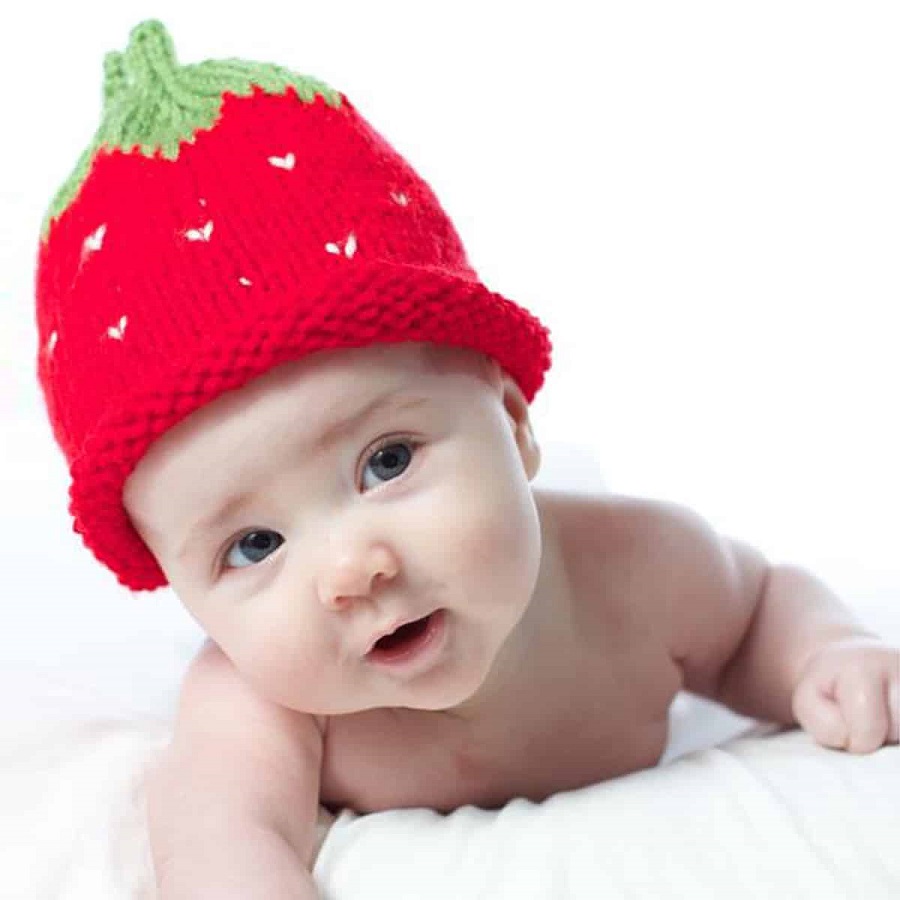
Knitting a baby hat is one of the most rewarding projects for knitters of any skill level. Not only is it a practical item that will keep the little ones warm and cozy, but it’s also a labor of love that can be created with simple techniques. Here, I’ll walk you through a delightful pattern for a sweet and snug baby hat that’s perfect for infants aged 0-3 months.
Materials You’ll Need
Before you start knitting, gather your materials:
- Yarn: Choose a soft, baby-friendly yarn. Look for a worsted weight (4) yarn made from natural fibers like cotton or merino wool. You’ll need about 50-100 yards.
- Needles: Use a set of knitting needles that match your yarn weight. Generally, size US 8 (5 mm) needles work well for most worsted weight yarns. You can choose either straight needles or circular needles, providing you will use the circulars for the whole round.
- Tapestry Needle: For weaving in the ends.
- Measuring Tape: To measure your progress.
- Scissors: For cutting the yarn.
- Optional: Stitch markers if you’re knitting in the round.
Gauge
For this hat, a gauge of approximately 4.5 stitches per inch (in stockinette stitch) is ideal. It’s always a good idea to knit a small swatch, particularly if you’re trying a new yarn or needle size. This will help ensure that the hat will fit correctly.
Basic Techniques Used
- Cast On: This is how you start your project.
- Knit Stitch: The primary stitch you’ll use.
- Purl Stitch: Used in the brim for texture.
- Knit in the Round: Allows you to create a seamless tube (the hat).
- Decreasing: To shape the crown of the hat.
Pattern Instructions
- Cast On:
Start by casting on 60 stitches using the long-tail cast on method. Make sure your stitches are not too tight, as baby hats need a little stretch.
- Brim:
Round 1: [K2, P2] around. This ribbing will give the brim some stretch and texture.
Repeat Round 1 for 1.5 inches. This will give your baby hat a nice snugness around the head.
- Body:
After the brim is complete, you will continue to work in stockinette stitch (knit every round) until the hat measures about 4.5 inches from the cast-on edge.
4.Finishing Up:
Cut the yarn, leaving a long tail (about 6 inches). Thread the tail through the remaining stitches using a tapestry needle and pull tight to close the top of the hat. Weave in all ends securely.
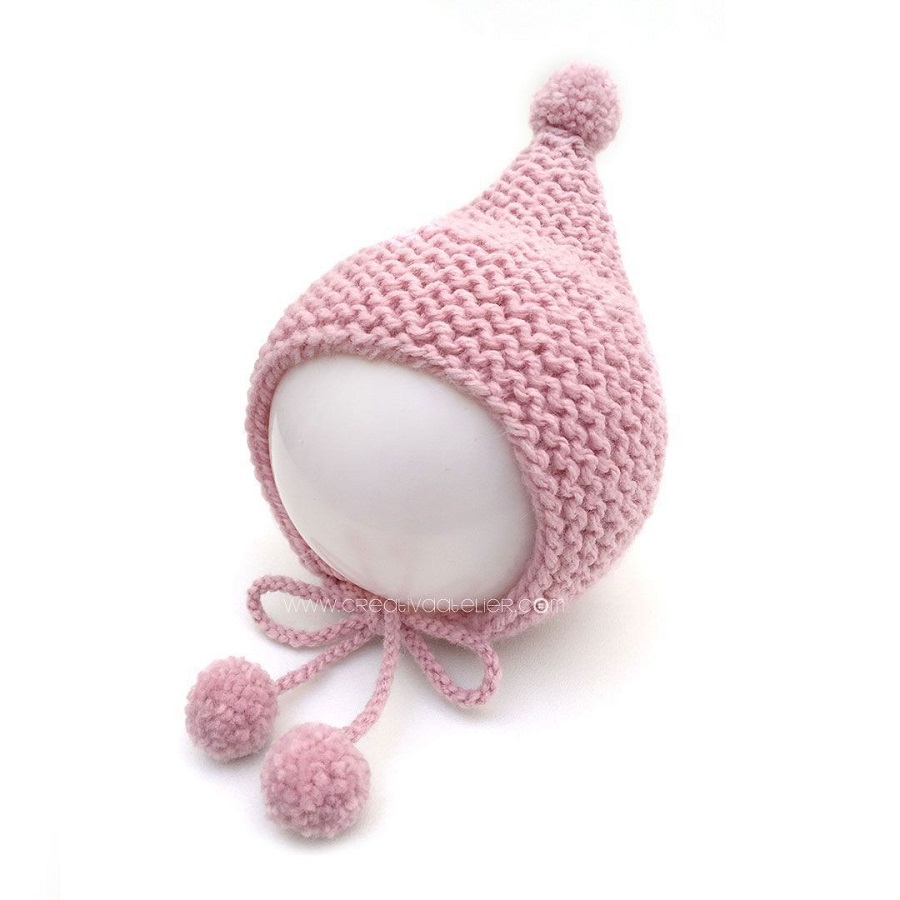
5. Optional: Add a pom-pom or a little knitted flower for a delightful finishing touch!
Sizing
This pattern is made for a newborn size (0-3 months) but can easily be adjusted. To make a larger hat, simply increase the number of stitches cast on in multiples of 6. Keep in mind that the decrease rounds will need to be adjusted accordingly.
Care Instructions
To keep your baby hat looking its best, it’s important to follow the care instructions specific to your yarn. Generally, machine-washable yarns are the most practical for baby items. Hand wash in cold water and lay flat to dry to maintain the shape and integrity of the yarn.

The Importance of Baby Hats
Before we delve into the crafting aspects, let’s take a moment to appreciate why baby hats are essential. Newborns and young infants have a harder time regulating their body temperature, making them more susceptible to heat loss, especially through their heads. A well-fitted hat can help keep them snug and cozy, whether you’re out in the crisp winter air or basking in the sunny warmth of summer.
1. Seasonal Considerations:
- Winter: During the colder months, a warm and snug toque made from wool or a soft fleece can provide much-needed insulation. Opt for hats that cover the ears and have a snug fit to prevent chilly air from seeping in. Designs can include festive motifs like snowflakes or winter animals such as penguins and polar bears.
- Spring: In spring, the weather can be unpredictable. Consider lightweight cotton or linen hats that offer some coverage while still being breathable. Bright colors and floral patterns are perfect for this season, reflecting the blooming flowers outside.
- Summer: For hotter days, look for wide-brimmed hats or sun hats that provide shade and protection from harmful UV rays. Choose lighter fabrics like cotton and incorporate fun patterns, perhaps featuring their favorite cartoons or animals.
- Fall: As leaves begin to change, rich earthy tones and cozy knits become the focus. A medium-weight toque that covers the ears, perhaps knitted with more intricate designs like leaves or pumpkins, can be the perfect accessory for your autumn outings.
Crafting Your Tiny Toques
Creating your own baby hats can be a rewarding experience. Not only do you get to customize designs and colors, but you also gift something unique and heartfelt. Let’s explore some popular techniques and simple patterns that even beginners can master.
1. Knitting:
Knitting is a timeless technique that produces beautiful, textured hats. Here’s a simple pattern to get you started:
Materials Needed:
- Worsted weight yarn (in season-appropriate colors)
- Knitting needles (US Size 8)
- Stitch markers
- Tapestry needle for weaving in ends
Basic Baby Hat Pattern (0-6 months):
- Cast On: Cast on 64 stitches (feel free to adjust for size).
- Ribbing: Knit in a 1×1 ribbing for 1.5 inches (K1, P1).
- Body of Hat: Switch to stockinette stitch (knit every row) until the piece measures 5 inches from the cast-on edge.
- Decreasing: Begin decreasing:
- Round 1: (K8, K2tog) repeat around.
- Round 2: Knit.
- Round 3: (K7, K2tog) repeat around.
- Continue decreasing until you have about 8 stitches left.
- Finishing: Cut the yarn, leaving a long tail, and thread through the remaining stitches. Pull tight and weave in ends.
2. Crochet:
Crochet is another fun method to craft stylish baby hats. With just a few stitches, you can create adorable designs that are both stretchy and comfortable.
Materials Needed:
- Worsted weight yarn
- Crochet hook (Size H/8)
- Scissors
- Tapestry needle
Basic Crochet Baby Hat Pattern (6-12 months):
- Magic Ring: Start with a magic ring and chain 2.
- Round 1: Work 10 double crochets into the ring; tighten the ring and join with a slip stitch.
- Round 2: Chain 2, then work 2 double crochets in each stitch around (20 stitches).
- Round 3: Chain 2, 1 double crochet in the first stitch, 2 double crochets in the next repeat around (30 stitches).
- Body of Hat: Continue crocheting until the piece measures about 6 inches from the crown.
- Finishing: Fasten off and weave in ends.
3. Embellishments:
Once you’ve crafted the basic hat, it’s time to get creative with embellishments! Consider adding pom-poms, bows, or felt decorations. Stitch on a cute animal face or a flower to celebrate the season. Simple embroidery can transform a plain hat into something truly special.
Tips for Success
- Choose the Right Yarn: Always opt for soft, non-irritating materials that are gentle on a baby’s sensitive skin. Avoid wool blends if you know the baby has allergies.
- Check for Size: Babies grow quickly! Ensure your hats fit correctly; they should be snug but not too tight. Always refer to sizing guides to accommodate different ages.
- Practice Makes Perfect: Don’t get discouraged if your first few attempts don’t turn out as expected. The beauty of crafting lies in learning and refining your skills over time.

Conclusion
Knitting a baby hat is a simple yet fulfilling project that yields a cute and useful finished product. Whether you’re making it as a thoughtful gift for a new parent or for your little one, this snug and sweet pattern will bring warmth and style to any baby’s wardrobe. With the techniques you learn from this project, you can expand your knitting repertoire to create an entire collection of adorable baby accessories.
Crafting adorable baby hats for every season is a delightful way to express creativity and provide comfort to little ones. Whether you’re a knitting guru or a crochet beginner, the joy of seeing a baby wear a hat that you’ve made is incomparable. With the right materials, some practice, and a sprinkle of creativity, you’ll be able to produce a charming collection of tiny toques that are sure to turn heads and keep little heads warm all year round. Happy crafting!
