Introduction to DIY Witch Hats
Creating your own witch hat is not only fun but also allows you to add a personal touch to your Halloween costume or themed party attire. In this DIY guide, we will explore the simple steps on how to make a witch hat from scratch. This project is great for beginners and seasoned crafters alike. You’ll learn about the materials needed, the step-by-step process, how to add unique elements to your hat, and tips to make it sturdy and comfortable.
Making a witch hat yourself provides the freedom to customize its size, shape, and decorations to perfectly suit your taste and outfit. Whether you plan to go for a spooky, whimsical, or elegant witch look, crafting your hat will set you apart from the crowd. Let’s dive into the enchanting world of homemade witch hats and unleash your creativity!
Materials Needed for Your Witch Hat
To start creating your own witch hat, you will need to gather some essential materials. A trip to a crafts store or a rummage through your crafting supplies at home should get you started. Here’s what to look for:
- Black Fabric: Felt or another sturdy fabric works best for the main body of the hat.
- Lightweight cardboard: This will be the base for your hat’s brim and give it shape.
- Scissors: A sharp pair to cut fabric and cardboard smoothly.
- Fabric glue: This is needed to attach pieces of fabric to one another or to cardboard.
- Measuring tape: To measure the dimensions of your head and the fabric needed.
- Thread and needle: In case you prefer sewing over using glue.
- Wire: A flexible, yet firm wire to outline the brim and provide additional support.
- Decorative items: Think ribbons, feathers, or whatever fits your witchy style.
These items are easy to find and mostly affordable. With them on hand, you’ll be well on your way to learning how to make a witch hat that’s uniquely yours. Remember to choose materials that will not only look good but also last through an entire night of Halloween festivities or a themed event. In the next section, we’ll go through the step-by-step instructions to craft your bewitching accessory!
Step-by-Step Instructions to Crafting
Creating a perfect witch hat includes simple yet precise steps. Let’s begin the magical crafting journey:
- Measure Your Head: Use the measuring tape to calculate the circumference of your head. This ensures the hat fits you comfortably.
- Cut the Cardboard: Trace a circle on the lightweight cardboard for the brim. The size can vary, but make sure it complements your head size.
- Form the Cone: For the body of the hat, cut a large, wide triangle from the black fabric. The base width should match your head circumference.
- Create the Hat Brim: Place the cone’s base on the cardboard circle. Trace a smaller circle inside it. Cut out the smaller circle to form a donut shape.
- Assemble the Pieces: Attach the cone to the brim using fabric glue or a needle and thread. Ensure it is secure.
- Reinforce with Wire: To keep the brim flat and in shape, insert the flexible wire around the edge. Tuck it under the fabric or cardboard.
- Trim Excess Fabric: Any extra fabric on the brim can be trimmed for a neat finish.
- Finishing Touches: Press down all glued areas. Let them dry. If sewn, check all stitches are tight.
Remember to frequently measure and adjust as you craft your witch hat. This helps prevent errors and ensures the best fit. Next, we will look at how to add unique personal touches to your hat.
Adding Unique Personal Touches
To really make your witch hat stand out, adding personal touches is key. Here are ways to infuse your hat with your personal style:
- Choose Your Color Scheme: Black is classic, but feel free to pick any color that matches your outfit or mood.
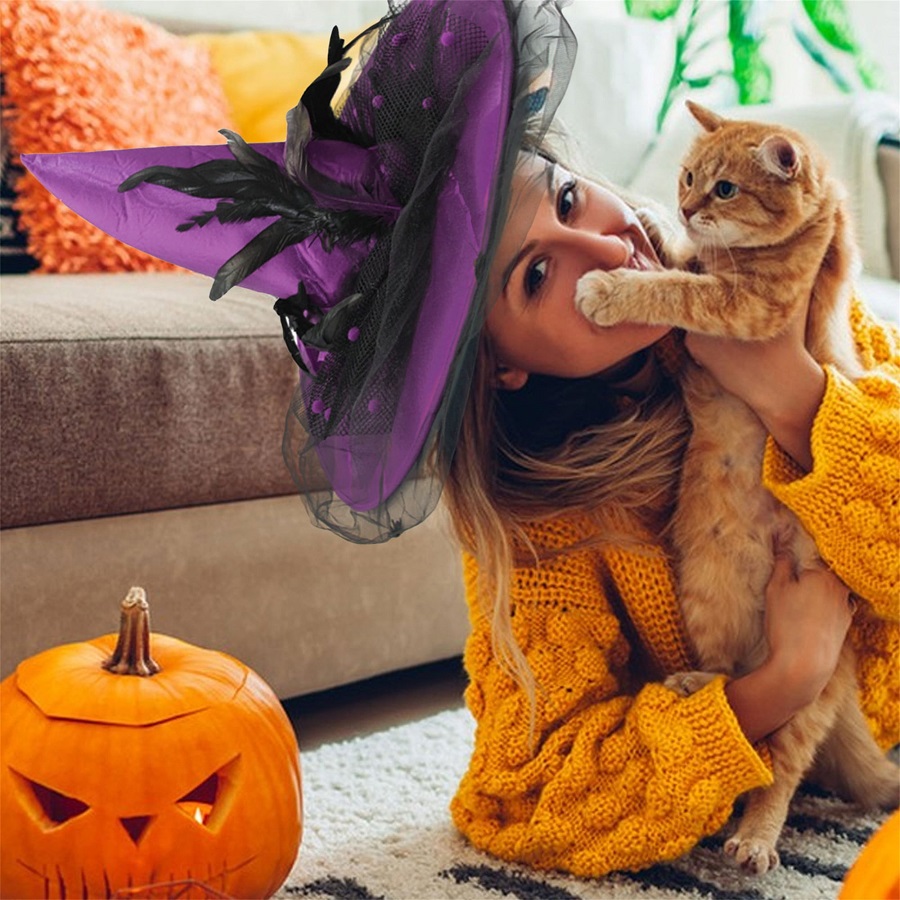
- Attach Decorative Items: Use ribbons, fake spiders, or feathers. These details can reflect your personality.
- Use Fabric Paint: Draw designs or symbols that resonate with you. Stars, moons, and swirls are popular.
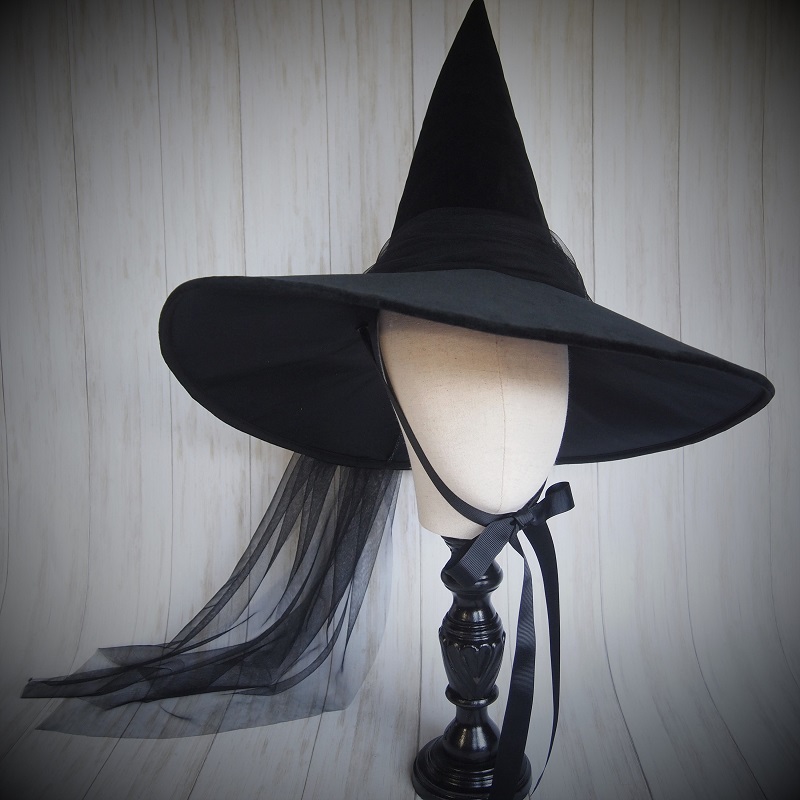
- Incorporate Texture: Add lace, tulle, or netting for a layered look that adds depth and interest.
- Consider Beads and Sequins: They catch the light and can add a sparkle to your mystical ensemble.
- Fabric Embellishments: Patches, embroidery, or fraying edges can add a whimsical or aged effect.
By adding these unique elements, you ensure your hat is one-of-a-kind. Take your time to select and apply decorations that reflect the witchy vibe you want to convey. Remember, the way you personalize your hat can make a powerful statement at any Halloween gathering or costume event. Now that you’ve made your hat personal and distinct, let’s move on to ensuring it’s sturdy and comfortable to wear.
 Tips for a Sturdy and Comfortable Witch Hat
A good witch hat is not just about looks; it must also be sturdy and comfortable. Here are some tips to ensure your hat can withstand an evening of spells and fun while being snug and gentle on your head:
- Select the Right Fabric: Pick a fabric that is both durable and comfortable. Heavy-duty felt or a thick cotton blend are excellent choices.
- Reinforce the Brim: Use extra cardboard or double up on the wire around the brim for added firmness. It prevents floppy edges.
- Even Gluing: When using fabric glue, apply it evenly. It avoids bumps and ensures all parts stick properly.
- Smooth Sewing: If you sew, keep stitches uniform to avoid discomfort. Tight, even sewing will make the hat last longer.
- Consider a Lining: For added comfort, line the interior with softer fabric. It also helps if you have sensitive skin.
- Padding the Rim: Add a small layer of padding around the rim where the hat rests on your forehead. It eases pressure and adds comfort.
- Size Appropriately: Make sure your hat is not too tight. A snug, but not tight, fit is key to comfort.
By following these tips, ‘how to make a witch hat’ becomes ‘how to make a perfect witch hat.’ Comfort and durability go hand in hand to enhance your bewitching wardrobe.
Creative Ideas for Decorating Your Witch Hat
Decorating your witch hat boosts its charm and whimsy. Consider these imaginative approaches to make your hat truly special:
- Theme Variations: Align your hat’s style with different Halloween themes. Try a vampire-themed hat with red and black, or a ghost-themed hat using white veils.
- Glow-in-the-Dark: Use glow-in-the-dark paint or adhesive strips. They add an eerie glow and make your hat visible at night.
- Seasonal Flair: Attach autumn leaves or small pumpkins to embrace a fall theme. This is perfect for Halloween or harvest festivals.
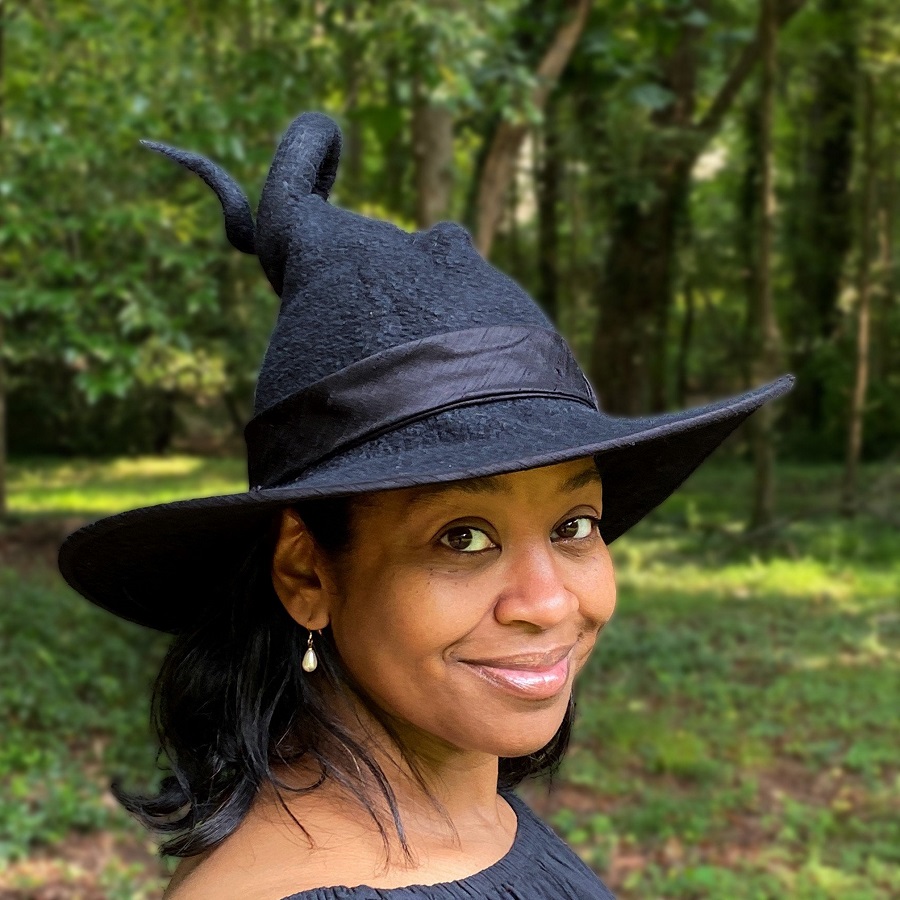
- Adding Textures: Combine materials like velvet or lace. These fabrics can give your hat an elegant look.
- Magical Symbols: Sew or glue on symbols such as crescent moons, stars, or runes. They can represent magical or mystical elements.
Each of these ideas can help personalize and enhance your witch hat for any festive occasion. Choose one or combine several to create a unique look that complements your Halloween costume!
Mistakes to Avoid When Making a Witch Hat
Crafting a witch hat is an exciting endeavor, but it’s easy to stumble along the way. To ensure that your hat turns out just as you envisioned, be aware of some common pitfalls to avoid:
- Ignoring Measurements: A hat that doesn’t fit is uncomfortable and won’t look right. Always measure your head and the materials precisely before you cut.
- Choosing the Wrong Fabric: Not all fabrics are suitable for a witch hat. Avoid thin, flimsy materials that won’t hold the shape of the hat. Stick to sturdy fabrics like heavy-duty felt.
- Skimping on the Brim: A weak brim can cause the hat to flop. Make sure to reinforce it with cardboard and wire for structure.
- Rushing the Process: Take your time crafting. Rushed work can lead to a messy appearance and weak construction.
- Over-decorating: While decorations add personality, too many can weigh down the hat or look cluttered. Aim for a balanced, tasteful design.
- Using Too Much Glue: Excessive glue can seep through the fabric, creating unsightly spots. Apply glue sparingly and evenly.
- Not Allowing Dry Time: Give the glue time to dry fully before moving on to the next step. This avoids parts shifting or coming apart.
- Neglecting Comfort: Don’t forget to line the hat or add padding. Comfort is essential, especially if you plan to wear the hat for extended periods.
By keeping these tips in mind, you can create a witch hat that not only looks fantastic but is also functional and comfortable. Avoiding these mistakes will save you time, resources, and frustration, leading to a magical result that you can wear with pride.
 Conclusion: Making the Most of Your Handmade Witch Hat
You’ve followed the steps on how to make a witch hat and added your personal touch. It’s not just a costume piece, it’s a reflection of your creativity. To make the most out of your handmade witch hat, remember a few key points:
- Wear it with Confidence: Your hat is unique, just like you. Hold your head high and show off your handiwork.
- Care for Your Hat: Store it in a safe place to keep its shape and avoid dust.
- Reuse and Repurpose: Transform your hat for future events. Switch up the decorations to match different themes.
- Share Your Experience: Inspire others by sharing how you made your hat. Offer tips and encourage their creative efforts.
By creating a witch hat from scratch, you’ve not only crafted a fantastic accessory but also sharpened your DIY skills. Every time you put on your witch hat, you’ll remember the fun and pride in making something from start to finish. Continue to harness this creative spirit in all your future DIY projects. Happy crafting!
